Showing posts with label cooking. Show all posts

Wednesday, June 22, 2011

Hamburger Update- no news

The hamburgers are still above my freezer in the garage, I kinda forgot about them... I took a peek at one the other day and EWWWWWW! I DID NOT open it! They are still rotting away, liquidity is setting in.

I sent e-mails to the Biology Dept at UF two more times, and didn't even get so much as a "you're crazy lady!" from them. : ( Well, they missed their chance at making a little more of a Gator fan of me. I do not like the Gators as a whole, but parts of them I have liked. Shands Teaching Hospital has taken very good care of my father, and Tim Tebow is(so far... no one is perfect!) admirable and a great sportsman, and I employ the knowledge of the Extension office at times also attending their plant sales of native plants. *sigh* I guess they missed the boat on that one....

I took a couple pics of the burgers. Here they are:


I apologize for the size, for some reason the picture loader isn't working properly...  Disappointment is all around...*sigh*
PS I have a post about a recent trip to my parent's house last week, however I have lots of pics to share so I think I will wait till the photo loader is working properly!

Sunday, May 8, 2011

Hamburger Update- final one?

Ok, so I haven't posted in a while- busy- sorry. 

I did have time to take pics of the hamburger though, and without futher a do, here they are:
The first three were taken the week of April 14th.  Notice how much condensation is in the McDonalds burger?  I don't know why, it wasn't hot or even warm when I put it into the container.

McDonalds' close-up 
I am surprised.

Real Hamburger close-up 
It's moldy, but obviously not as bad as the McDonalds.

Now for photos taken the week of May 3rd.

Major difference in the Real Hamburger: 

Now for the McDonalds:
Do you notice the liquid?  And I wish you could smell them.  The McDonalds burger has a sour smell to it.  The Real burger has a moldy smell to it.  The molds look different too.  I am wondering if there are two different molds growing on these burgers?  I contacted the local Extension office to see if they do mold testing or knew anyone that did, and they directed me to the Biology Dept of UF.  I emailed them and they have not responded.  My question now, is how long do I wait for a response?  My family(read: husband) is tired of the experiment.  I have placed the burgers above the garage freezer which will only hasten the decomposition process.  I would really like to find out what types of mold are growing on these burgers!

My findings were not what I expected.  I fully expected the McDonalds burger to stay fresher longer. As you can see that was NOT the case!  I will say that looking at that hamburger has caused The Rocket to think twice before wanting to eat fast food now, however, I still have a long way to go...

Wednesday, April 6, 2011

Hamburger update #2

McDonald's hamburger- showing signs of mold now.  Below is the inside of the burger. I am surprised that it is already showing signs of rotting.  I thought for sure it would be a couple more weeks.

This is the Homemade burger, lots of mold.  I could not pry it open to get a view of the inside without destroying the bun.  I'll give it a couple more weeks. 

The smell is not very pronounced on either of them, however on the Homemade burger there is a smell.  On the McDonald's burger it doesn't smell like it originally did, but it doesn't stink either. 

My husband cannot wait for this experiment to be over...

Until next time...

Wednesday, March 30, 2011

Hamburger update #1

This is the Homemade burger, showing signs of mold growth...


This is the Mcdonald's hamburger, still good...  The Rocket doesn't want to eat this particular one anymore!

It's been a week, and already my thoughts are being proved...  Stay tuned!

Thursday, March 24, 2011

McDonalds' "Food"vs Real Food

I have a son that is a junk food junkie.  I mean, he would choose any fast food restaurant over a home cooked meal ANY DAY and EVERYDAY!  So I am going to do a little experiment, one I have seen the pictures from before(so I guess I am stealing the idea), but I want to experience it first hand in the hopes of curbing the monster within him.  Here goes:

First, the McDonald's hamburger.  Regular, nothin' special about it.  Ketchup, mustard, little chopped onions, pickle, what they call "meat", and a bun.


 Now the real hamburger, ketchup, mustard, little chopped onions, minus the pickle, 100% pure beef, and an organic bun.

They will be kept in identical containers on my kitchen counter for however long it takes to show some major degradation.  I labeled them and dated them.  This started on the 22rd of March.


I have been thinking of doing this for a while and the bread I needed finally went on sale at a time when I was contemplating the experiment.  When my neighbor brought the McDonald's hamburger over(bought on his way home from work. Thank you, Mark!), my junk food monster came running in and exclaimed " Is that for ME???"  Dear Lord, he is disappointed I am wasting this burger on an experiment!  The next morning, he said "Can I have it now?"  After learning it had sat out all night on the counter and would continue to do so until it rotted, he didn't want it anymore. 

My kids have watched most of Food Inc. and Sweetie Pie is not a fan of fast food anymore.  The Junk Food Junkie(otherwise known as The Rocket) on the other hand is only mildly deterred.  Zman is indifferent, and S just rolls his eyes.  My work is cut out for me...

I will be posting pics(I will try for weekly) on the progress of the experiment.  My hypothesis is that the regular hamburger, made of real food, will degrade(rot) faster than the McDonald's hamburger, because of the lack of preservatives in the ingredients.  My hope is that my Junk Food Junkie and his father will learn something about the "food" they love so much, and it will be burned on their minds, so as to never forget it. 

Is that too severe?   Naaaaa

Monday, October 18, 2010

Spanikopita

Spanikopita, otherwise known as spinach pie, or in my house as "Spank-your-pita", is a very yummy way of getting spinach into your diet.  I made this on a whim one day because I had some puff pastry and fresh spinach that I needed to use up.  I got the basic recipe here.  Of course, I played with the recipe and made variations of my own to make it better and easier.  Here's how I made it:
                                            First I cut up some green onions, about 1 bunch.

Next, wilt your spinach.  If you have already consulted the recipe,
I used bacon grease instead of olive oil to do this.  This adds yum factor.
The above is 1 bag of spinach. It looks like it won't all fit when you put it in your pan, but it shrinks down ALOT!
What your spinach looks like after wilting(the same entire 1 bag), you need to drain it so your filling doesn't run all over the pan. 
After spinach is wilted, saute the onions and some minced garlic, again in bacon grease. 
I had some bacon(where do you think I got all the bacon grease?) strips in the fridge I was saving for a sandwich, but I chopped them up and added them here for good measure, a worthy sacrifice! 
After everything is sauted/wilted up, throw it all in a bowl and add the eggs and feta, and your seasonings.  Mix it all up and you have something that looks like this: 
Spread it out on your puff pastry dough that has already been defrosted and rolled out a bit to smooth out the creases.  Line your pan with parchment paper, otherwise you will be scraping it off the pan and it won't look pretty!  Also try to think of the ultimate positioning of it all rolled up.  It is very hard to pick it up and move it after it is rolled.  Make sure to leave the sides and a little bit at the end free so you can seal it up good. 
Use the edge of the paper to help you roll it up.   
Seal the ends and position it on the baking sheet. 
Bake it at about 350 or so for about 40-45 minutes. Check it at 30 minutes and then determine how much longer you'll need. 
After it comes out of the oven.

Hmmmm, what to do with all this leftover green, bacony, spinachy goodness? OHHHH! I have some ideas!  A spooky halloween punch to drink on a dare, or a much more boring, but highly palatable idea, is to use it for soup flavoring. (Shhh, don't tell my kids I put that in the soup, they'll never eat it!) 
Here is the end product.  Spinach happiness on a plate, with a hint of bacon, the twang of feta, and the healthy goodness of iron without the metallic taste! 
Do I have something in my teeth? Who cares, give me another slice please...


Tuesday, June 29, 2010

Florida Peaches

We have a peach orchard in Ocala!  Little did I know.....  Up off of County Road 316 is a little field of peach trees.  The farmer who tends these beauties is from Miami and he is very proud of this fruit he is growing!  He has people from Georgia that come here for his peaches!
These are the BEST peaches EVER! Florida peaches are the sweetest and juiciest peaches I have come across in my years of eating. 
The picture quality is poor but you can still tell how juicy these beauties are! When you eat them fresh like this you have to be careful you don't drip juice down the front of your shirt!

I have never picked peaches before and I thought it would be a fun thing to do.  The first weekend Zman and I went on a whim just to check it out. After eating a bunch of them and freezing what was left over, I decided that the next weekend we would go again and pick at least 2 buckets of them.  Wouldn't you know it, I couldn't get a single one of my clan to go with me!  So I went for some mommy time alone. : ) 
I plugged in my book I am currently "reading"(The Last Camel Died at Noon) and proceeded to pick the 2 buckets I had hoped to get!  This was the last weekend for picking the peaches.  Sadly, there was alot of fruit that was wasted in the orchard and the smell of fermenting peaches was strong! 
It didn't take me long to fill up 2 buckets and when I got home it took me about 2 hours to pit and slice them up for freezing.  I gave some fresh ones to my neighbors and parents, and some I kept out for us to eat fresh and some I used in a cobbler- YUM!  So now I have enough peaches in the freezer for about 6 months worth of smoothies and pies/cobblers.  : )
  
Speaking of which, here is a really easy recipe for peach(or any fruit) cobbler:

in a meduim-sized baking dish, melt 1 stick of butter in a 375 oven
Meanwhile, combine in a bowl:
1cup self rising flour
1 cup sugar
1 cup milk
(This batter will be lumpy-you just don't want the lumps real big)
 When the butter has melted, pour the batter into the baking dish - DO NOT STIR!
Throw in your fruit.  You can use a large can of peaches, in which case you should use a bit of the juice too. Or if you use peach pie filling it's even better!  If you use fresh fruit, use more than you think you should.  If you think there's enough in it, go ahead and throw more in! 
Bake this concoction for about 30 to 40ish minutes.  You want the edges to be a dark brown and the middle to be a goldenish brown.  Serve with vanilla ice cream and try not to eat the whole dish in one sitting(but I bet you come back again and again to "even-up" the edges)!

Tuesday, January 19, 2010

Not what I thought...

 Last night I tried a new recipe that sounded great, Bacon Wrapped Chicken with Blue Cheese and Pecans.  "Very tasty" I was thinking, but since I am the only one who REALLY digs blue cheese, I decreased the amount called for by about 1/4 cup.  Ok, now the recipe starts out telling you to butterfly the breasts and pound them out a bit(makes 'em cook a bit faster) I did ok with the pounding but the butterflying, well I reccomend putting them on a cutting board or a plate to do that.  I tried doing it while holding them in my hand and ended up cutting my finger(feel free to laugh-go ahead-I even had a feeling I was going to do such a thing!).  Obviously I don't do this very often to think I could do it by just holding them in my hand!  So after I bandaged my finger, I proceeded to pounding.  The recipe says to use parchment paper, but compared to wax paper, that stuff is expensive!  I used wax paper and it worked just fine.  I also used the industrial sized mallet from the garage, why buy a fancy-smansy meat tenderizer? 
It was fun. Just a note though, if you use one of these mallets, be sure not to pound too hard as there won't be too much left after you're done(this I have done before...).
Now the recipe says to sprinkle the blue cheese, pecans and the green onions evenly over the seasoned breasts.  I mixed them up and then put them on, if anyone can sprinkle blue cheese evenly, please tell me how!  BTW, I didn't even use all of this... I had a bit left over and I put it on a salad today, yum.... 
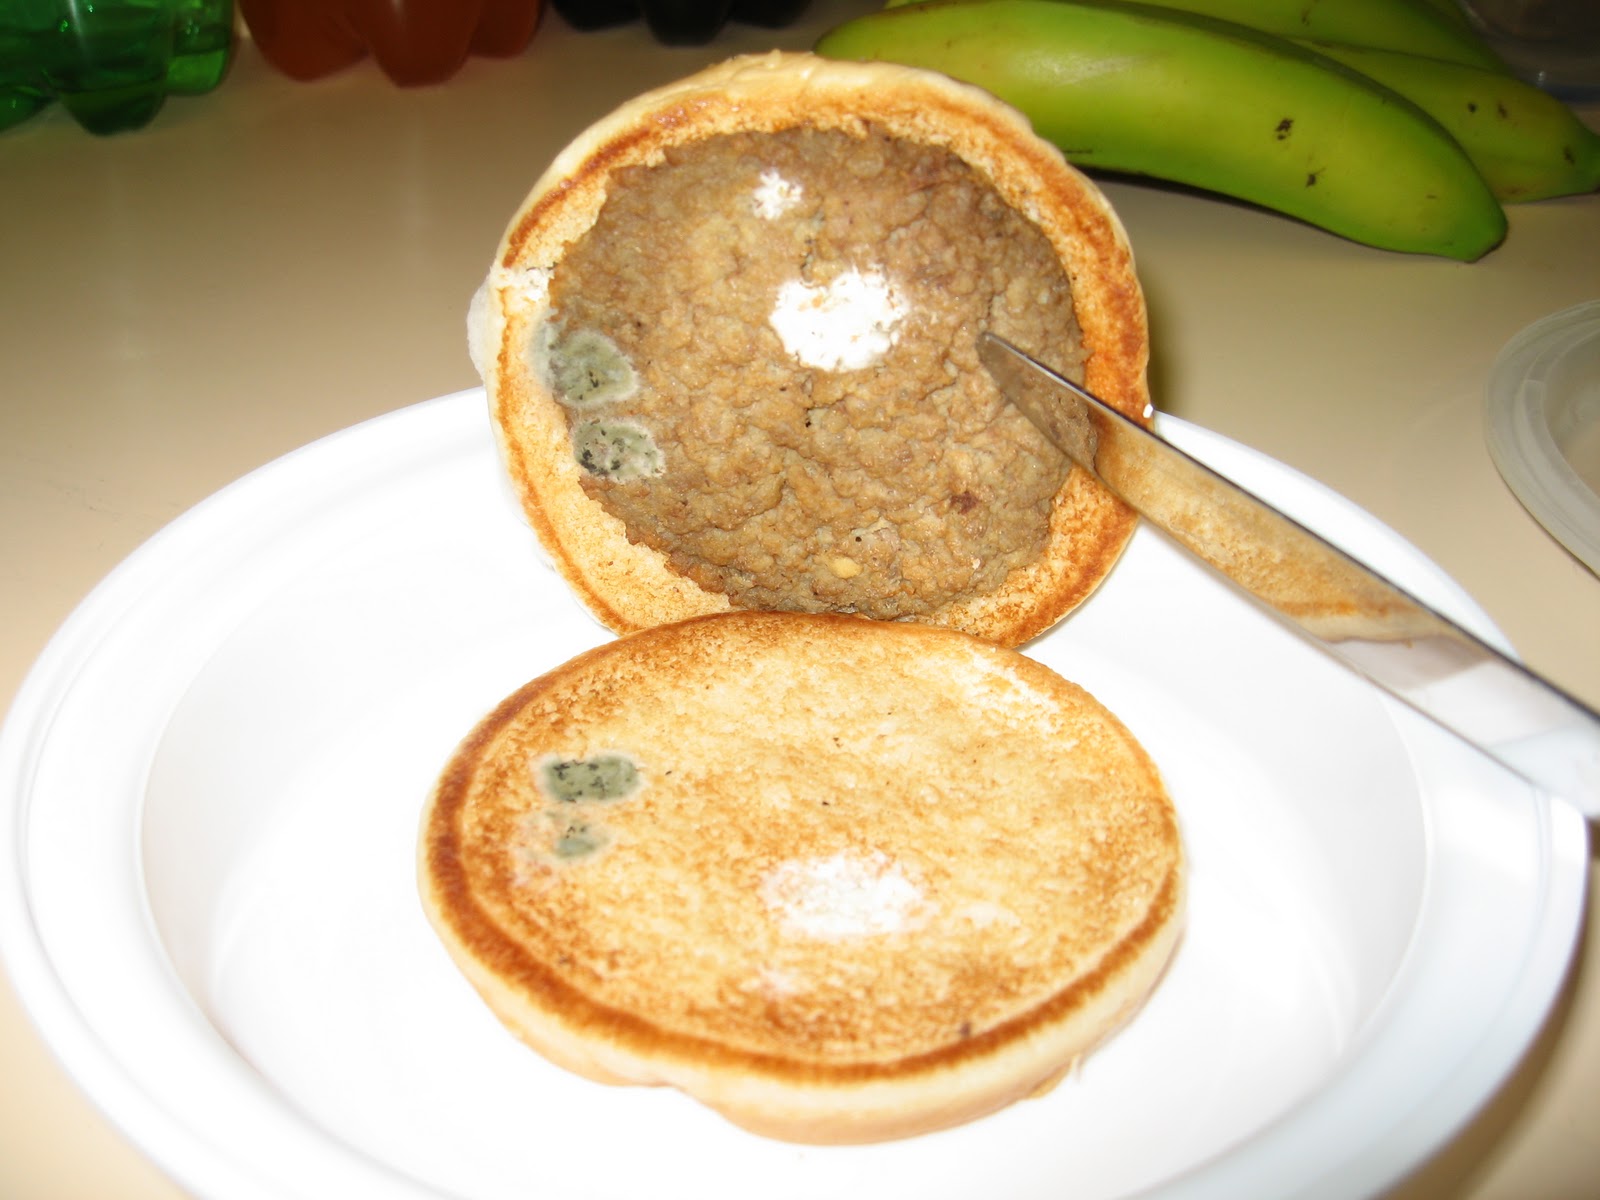
All-rightey.  Now, you are supposed to "roll the chicken, wrap each roll with bacon and secure with toothpicks."  Sounds easy, and in theory, it is.  However, when you mangle the breasts trying to butterfly them, they don't roll real pretty or easily.  Mine was more of a "fold and tuck" operation, though you can't really tell by the photo.  I did manage to get one done "perfectly"(I think that was the breast I finally put down to butterfly, go figure...).
 
While I browned the chickens, I fixed a salad.  Just some spinach, iceburg letuce, red cabbage, celery, red pepper, tomato and a hard boiled egg.  After browning, I put them into the oven for about 10 min while I made the "gravy" to go over the chickens.  I say gravy because you use the drippings from browning the chickens, add butter and flour and whisk in chicken stock, which to me is a gravy, not a sauce.  Anyhow, when it thickens a bit, I added 1/2&1/2 and a grainy mustard like the recipe said too.  Maybe my mustard wasn't the right one, or maybe it's just too much mustard- I don't know- but the gravy was too mustardy for me.  Here's the finished plate
The mac and cheese recipe, you can find here.  It is a slow-cooker recipe and super yummy!
When I fixed the kid's plates, I realized just how much blue cheese was really in them.  It didn't seem like that much, even after altering the recipe, but WOW it packs a punch!  So I ended up scraping it out of theirs and putting the gravy on the side.  The Rocket loved it( surprise!) and Sweetie Pie didn't, however she did eat every last scrap of bacon on her plate and wanted to steal it from the other chickens. She loves bacon!  S  had it regular with gravy and liked it, but said the pucker factor from the blue cheese was too much and ended up scraping most of it out.  I liked the chicken part, but the gravy... not so much.  Like I said before, it may have been the mustard I used, or just too much.  All in all, it was not what I thought it would be.  Oh well, it made a good sandwich this afternoon...
Tonight, I made some lemon iced shortbread type cookies.  I don't have a recipe for you, sorry.  They turned out pretty good(despite forgetting to put the vanilla in)and were just exactly as I thought they would be... refreshing!
Before icing them I noticed a little smiley face in one of the cookies...
 
and after icing....the smile would be on my face!
These would be really good in the summer, my favorite season. And since I'm missing it so much, I made them now.  My family will be lucky to get any...hehehe.